How to Fit Perfect Door Hinges
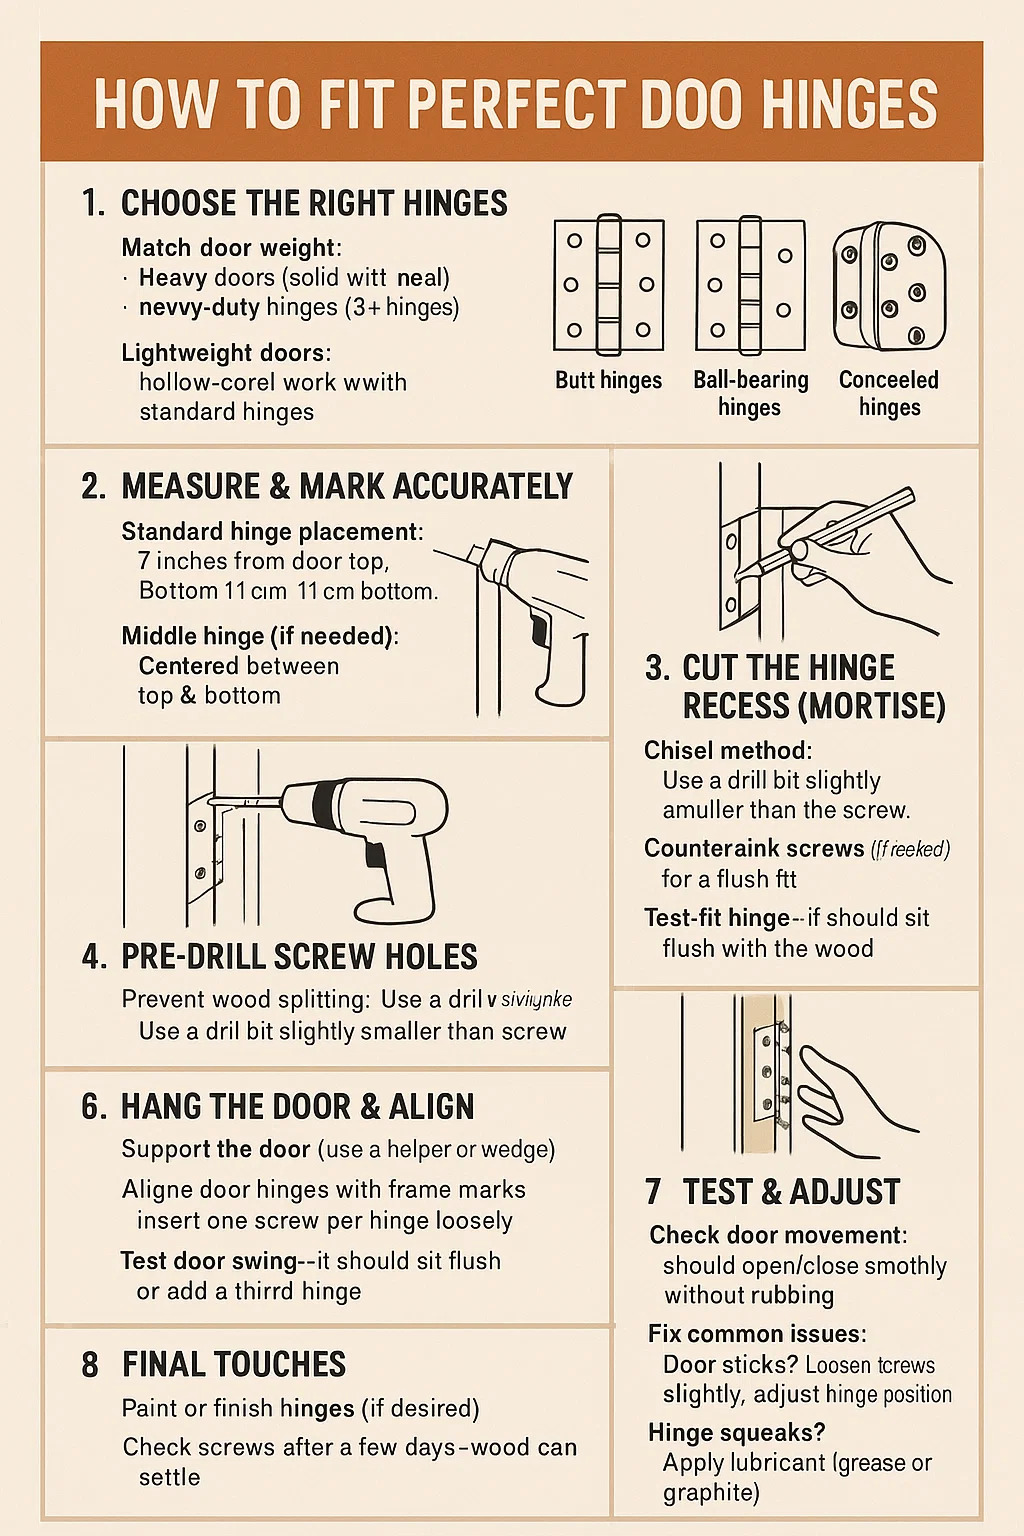
1. Choose the Right Hinges
Match the door weight: Heavy doors (solid wood, metal) need heavy-duty hinges (3+ hinges). Lightweight doors (hollow-core) work with standard hinges.
Select hinge type:
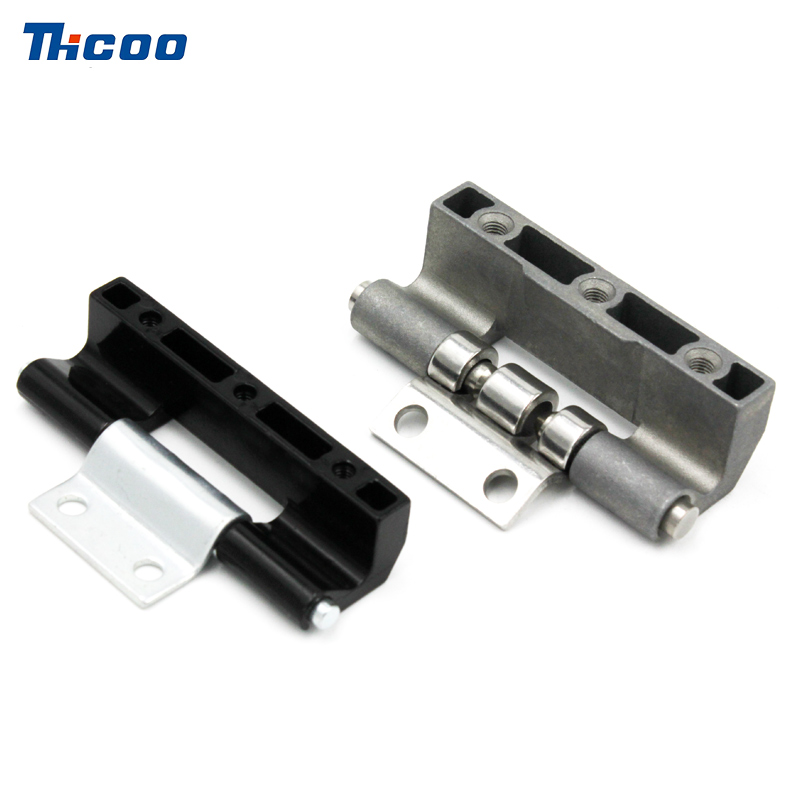
Butt hinges (most common for interior/exterior doors).
Ball-bearing hinges (smoother, better for heavy doors).
Concealed hinges (hidden, modern look).
Material matters:
Stainless steel (rust-proof, best for bathrooms/exterior).
Brass (decorative, needs polishing).
Steel (strong but can rust).
2. Measure & Mark Accurately
Standard hinge placement:
Top hinge: 7 inches from door top.
Bottom hinge: 11 inches from door bottom.
Middle hinge (if needed): Centered between top & bottom.
Use a square & pencil to mark screw holes and hinge positions.
Check alignment: Hinges must be perfectly vertical—use a level.
3. Cut the Hinge Recess (Mortise)
Chisel method:
Place hinge on door edge, trace outline with a knife.
Score inside the lines with a chisel.
Remove wood in layers (don’t cut too deep).
Test-fit hinge—it should sit flush with the wood.
Router method (faster, cleaner):
Use a hinge-mortising router bit.
Adjust depth to match hinge thickness.
4. Pre-Drill Screw Holes
Prevent wood splitting:
Use a drill bit slightly smaller than the screw.
Drill pilot holes where marked.
Countersink screws (if needed) for a flush fit.
5. Install Hinges on the Door First
Attach hinges to the door edge:
Insert screws loosely first.
Check alignment, then tighten fully.
Ensure hinges are flush—no gaps or protrusions.
6. Hang the Door & Align
Support the door (use a helper or wedge).
Fit hinges to the frame:
Align door hinges with frame marks.
Insert one screw per hinge loosely.
Test door swing—adjust if it sticks or sags.
Tighten all screws once aligned.
7. Test & Adjust
Check door movement:
Should open/close smoothly without rubbing.
Fix common issues:
Door sticks? Loosen screws slightly, adjust hinge position.
Door sags? Tighten top hinge screws or add a third hinge.
Hinge squeaks? Apply lubricant (grease or graphite).
8. Final Touches
Paint or finish hinges (if desired).
Check screws after a few days—wood can settle.
| Step | Action | Key Details |
| 1. Choose Hinges | - Match door weight (heavy doors = ball-bearing hinges).- Select material (stainless steel for damp areas). | Avoid weak hinges for heavy doors. |
| 2. Measure & Mark | - Top hinge: 7" from door top.- Bottom hinge: 11" from door bottom.- Use a square & level. | Misaligned hinges cause binding. |
| 3. Cut Mortise | - Trace hinge outline, chisel recess.- Router method for cleaner cuts. | Hinge must sit flush with wood. |
| 4. Pre-Drill Holes | - Drill pilot holes (prevents splitting).- Countersink if needed. | Ensures screws go in straight. |
| 5. Install on Door | - Screw hinges to door edge loosely first.- Check alignment, then tighten fully. | Prevents misalignment before hanging. |
| 6. Hang & Align | - Support door with blocks.- Attach frame-side hinges loosely, test swing, then tighten. | Adjust before final tightening. |
| 7. Test & Adjust | - Fix sticking/sagging by adjusting screws.- Lubricate if squeaky. | Small tweaks prevent major issues. |
| 8. Final Checks | - Re-tighten screws after a few days.- Paint/finish hinges if desired. | Wood settles over time. |

 English
 Deutsch
 简体中文
简体中文 languages

